GOMO SIM Registration | Requirements and How to Register
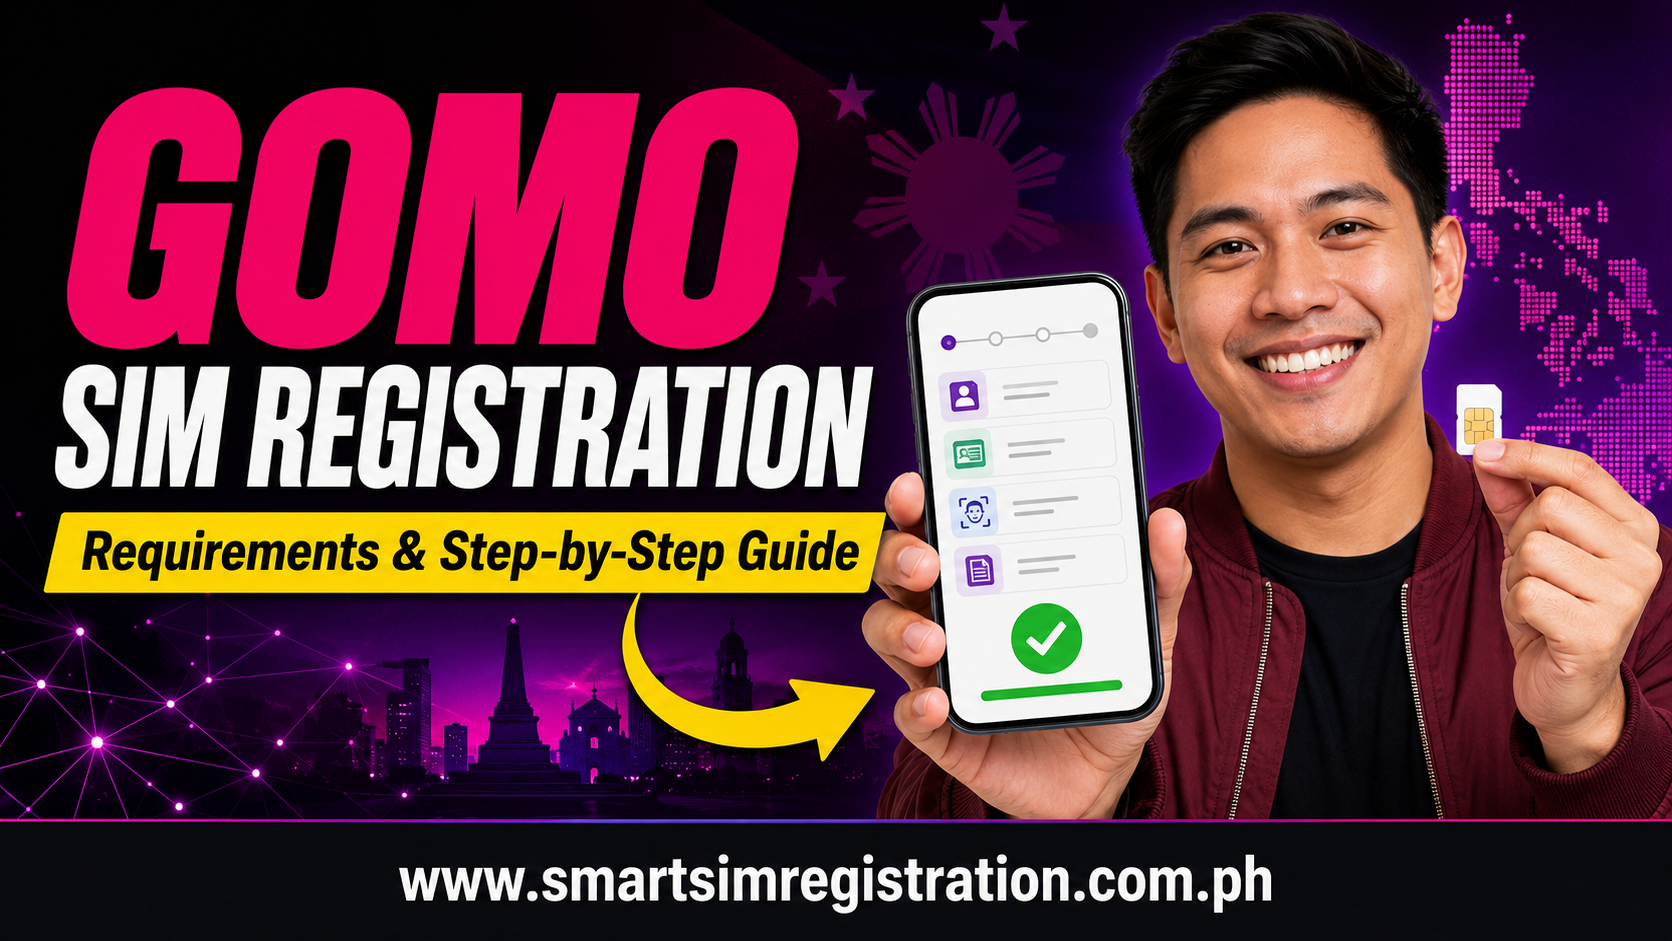
GOMO SIM registration is required before you can fully use a new GOMO SIM in the Philippines. Unlike many mobile networks, GOMO handles most account tasks through the GOMO PH App.
You need the app to register your number, activate the SIM, manage data, and access account support. There is no need to search for a separate registration form on an unknown website.
This guide explains the GOMO SIM registration requirements, app-based steps, activation process, and solutions to common problems.
How Does GOMO SIM Registration Work?
GOMO uses an app-based registration process. After receiving your physical SIM, insert it into a compatible phone and download the GOMO PH App.
The app will guide you through number verification, personal details, ID upload, and identity checking. Once the process is complete, you can activate and manage the SIM from the same account.
The official GOMO FAQ tells users to download the GOMO PH App and follow its registration steps.
Avoid websites that claim to provide a special GOMO registration portal. Start from the official GOMO website or download the app from a trusted app store.
Official GOMO SIM Registration Method
The official method is the GOMO PH App.
You can download it from:
- Google Play Store for Android
- Apple App Store for iPhone
- Huawei AppGallery for supported Huawei devices
The official download page is: https://www.gomo.ph/download
Check the app name and publisher before installing it. Do not download an APK file from an unknown website.
GOMO does not require users to complete registration through the Globe SIM registration portal. GOMO may use Globe’s network and services, but GOMO customers should follow the instructions provided in the GOMO PH App.
GOMO SIM Registration Requirements
Prepare the following items before starting:
| Requirement | What You Need | Quick Tip |
| New GOMO SIM | Physical SIM received from GOMO or an approved seller | Keep the SIM pack until activation is complete |
| Compatible phone | An unlocked device that can use the GOMO network | Update the phone before inserting the SIM |
| GOMO PH App | Official app for registration and account setup | Download it from a trusted app store |
| Internet connection | Wi-Fi or working mobile data | Use stable Wi-Fi during ID upload |
| Personal details | Full name, birth date, gender, and address | Follow the information on your ID |
| Valid ID | Clear photo of an accepted government-issued ID | Keep all text and edges visible |
| Selfie | Clear photo used for identity checking | Use good light and remove face coverings |
| Email address | Active email you can open | Check the spelling before submission |
The app may request other details based on the type of subscriber or current registration rules.
Accepted IDs for GOMO Registration
Prepare a valid government-issued ID with a clear photograph.
Common options may include:
- Philippine National ID
- Passport
- Driver’s licence
- SSS ID
- GSIS ID
- UMID
- PRC ID
- Voter’s ID
- Senior citizen card
- PWD ID
- NBI clearance
- Police clearance
The exact list shown in the GOMO PH App should be treated as the current list. Select the correct document type before uploading it.
Make sure the ID:
- Is valid and not expired
- Belongs to the person registering the SIM
- Shows a clear name and photograph
- Has no hidden or cropped details
- Matches the details entered in the app
Do not use an edited image, photocopy, screenshot, or another person’s ID.
Also check: DITO eSIM
How to Register a GOMO SIM
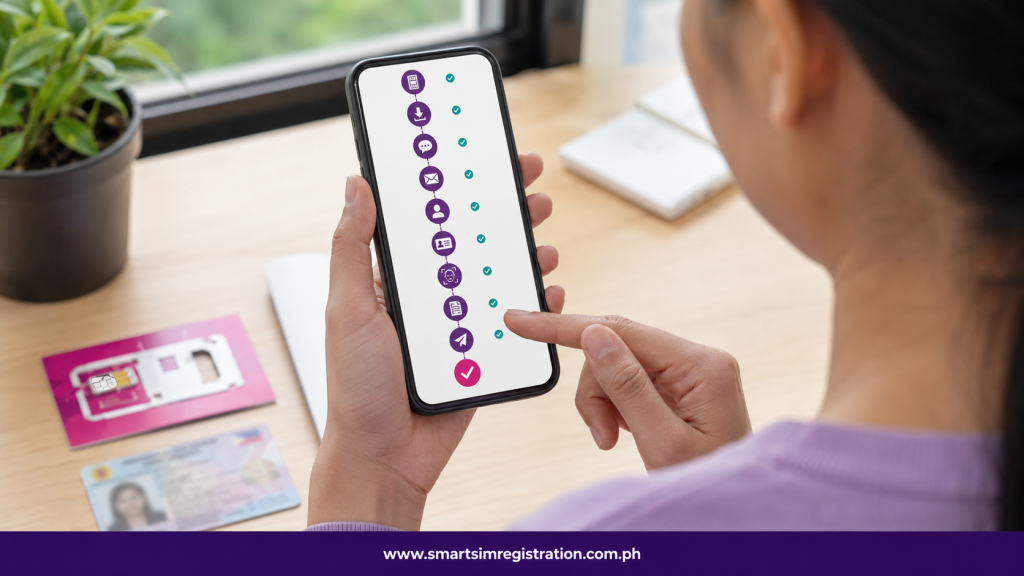
Follow these steps after receiving your physical GOMO SIM.
1. Insert the GOMO SIM
Turn off the phone and insert the GOMO SIM into the SIM tray.Turn the phone on and wait for it to detect the mobile network. If mobile data is not available, connect to Wi-Fi.
Keep the SIM pack nearby. It may contain details that are useful during activation or if you need support.
2. Download the GOMO PH App
Open your phone’s official app store and search for the GOMO PH App.Install the app and allow only the permissions needed for registration. These may include camera access for the ID and selfie.
Avoid unofficial versions of the app.
3. Select the Activation Option
Open the GOMO PH App and look for Activate Your SIM or a similar option.The exact button name may change when the app is updated. Follow the instructions shown on the screen.
4. Enter Your GOMO Number
Enter the GOMO mobile number linked to the new SIM.Check every digit before continuing. The system may send a one-time password or verification code to confirm that you have the SIM.
Enter the current code before it expires. Never share the OTP with another person.
5. Create or Access Your GOMO Account
Enter the email address requested by the app.Use an email account that you can access because GOMO may use it for account messages, order details, or support.
Create a secure password if the app asks you to make an account. Do not use the same password that you use for banking or other important services.
Also Read: Smart SIM Registration
6. Enter Your Personal Information
Complete the form with your correct details.
The app may request:
- Full legal name
- Date of birth
- Gender
- Nationality
- Current address
- Type of subscriber
Enter the details exactly as they appear on your ID. Do not use a nickname or a shortened form of your name.
7. Upload a Valid ID
Choose the correct ID type from the list.
Place the document on a flat surface and take a clear photo. Make sure the name, photo, ID number, and other required details can be read.
Avoid glare, blur, shadows, fingers, or missing edges.
8. Complete the Selfie Check
The app may ask you to take a live selfie.
Face the camera and use good lighting. Remove sunglasses, masks, hats, and anything else covering your face.
Do not use a filtered photo or a picture displayed on another screen.
9. Review Your Details
Check the complete form before submission.
Pay attention to:
- GOMO mobile number
- Full name
- Birth date
- Address
- Email address
- Selected ID type
Fix any mistake before moving to the final step.
10. Submit the Registration
Submit the form and wait for the app to finish processing it.
Do not close the app or change the internet connection during submission.
Save the confirmation screen, message, or reference details. A screenshot can help if you need to contact support later.
How to Activate a GOMO SIM

Registration and activation are linked, but they describe different parts of the setup.
Registration confirms the identity of the SIM owner. Activation allows the number to use the network.
After successful registration:
- Keep the GOMO SIM inside the phone.
- Restart the device if the app asks you to.
- Turn on mobile data.
- Make sure the GOMO line is enabled.
- Check whether the phone receives a network signal.
- Open the GOMO PH App and check your account.
The app should display your number, account, and available data after setup.
GOMO Internet Settings After Activation
Some Android phones may ask you to choose a prepaid or postpaid APN setting. GOMO states that either choice should not affect the SIM’s internet settings.
If mobile data does not work, check the Access Point Name settings.
The APN may need to be set to:
Menu names differ between phones. You can normally find APN settings under:
Settings → Mobile Network → SIM → Access Point Names
Save the settings and restart the phone.
Do not change other network fields unless GOMO gives you instructions.
Common GOMO SIM Registration Problems

The GOMO App Does Not Detect the SIM
Remove the SIM and insert it again. Confirm that it is placed correctly in the tray.
Restart the phone and check whether a network name or signal appears. You can also test the SIM in another unlocked and compatible phone.
OTP Is Not Received
Check that the GOMO SIM has a signal.
Wait before requesting a new code. Restart the phone if needed. Do not request several codes quickly because a newer OTP may cancel the previous one.
GOMO App Does Not Open
Update the app through the official app store.
You can also:
- Restart the phone
- Clear the app cache on Android
- Check available storage
- Switch to stable Wi-Fi
- Update the phone’s software
- Reinstall the official app
Avoid downloading an older app version from an unofficial site.
ID Upload Fails
Retake the image in a bright place. Put the ID on a plain surface and keep all edges visible.
Check that the document is accepted, valid, and not expired. The name and birth date must match the form.
Selfie Verification Does Not Work
Clean the camera lens and move to an area with better light.
Look straight at the camera and keep your full face inside the frame. Remove anything covering your face.
Do not use a filter, screenshot, printed photo, or image of another person.
Personal Details Do Not Match
Compare every field with the ID.
Common problems include:
- Missing middle name
- Wrong birth date
- Shortened name
- Spelling error
- Incorrect ID type
- Different document number
Correct the details and submit again only when the app allows it.
Also Read : Smart Sim Registration
Registration Freezes During Submission
A weak connection may stop the process.
Connect to stable Wi-Fi and reopen the app. Check whether you already received a confirmation before submitting the form again.
Keep the app open until the process is complete.
Is GOMO SIM Registration Free?
Normal SIM registration through the official GOMO PH App is free.
You may still need to pay when buying the SIM or selecting a mobile offer. However, an unknown person should not charge you only for access to the official registration form.
Do not send payment, an ID image, selfie, password, or OTP to someone offering registration through social media.
Where to Buy a GOMO SIM Safely
You can buy a physical GOMO SIM through the official GOMO website and approved partner merchants.
GOMO also lists local eSIM, roaming eSIM, physical SIM, and Easy Switch options on its store. Choose the correct product before paying.
This guide focuses on a standard physical GOMO SIM. eSIM installation and Easy Switch have different steps and should not be mixed with physical SIM registration.
Use the official GOMO SIM shop to check current products and offers.
How to Get Help with GOMO Registration
GOMO provides account and support features through the GOMO PH App.
Before asking for help, prepare:
- GOMO mobile number
- Order number
- Purchase confirmation
- Screenshot of the error
- Phone model
- Date and time of the problem
Do not include your password or OTP in a support message.
Use only the support options shown inside the official app or on the GOMO website.