Globe One App SIM Registration | Step-by-Step Guide
If you’d rather register your Globe SIM without touching a browser at all, the Globe One App sim registration handles the entire process from your phone, and doubles as your account dashboard afterward.
This guide walks through downloading the app, setting up your account, completing SIM registration inside it step-by-step, and fixing the most common issues people run into along the way.
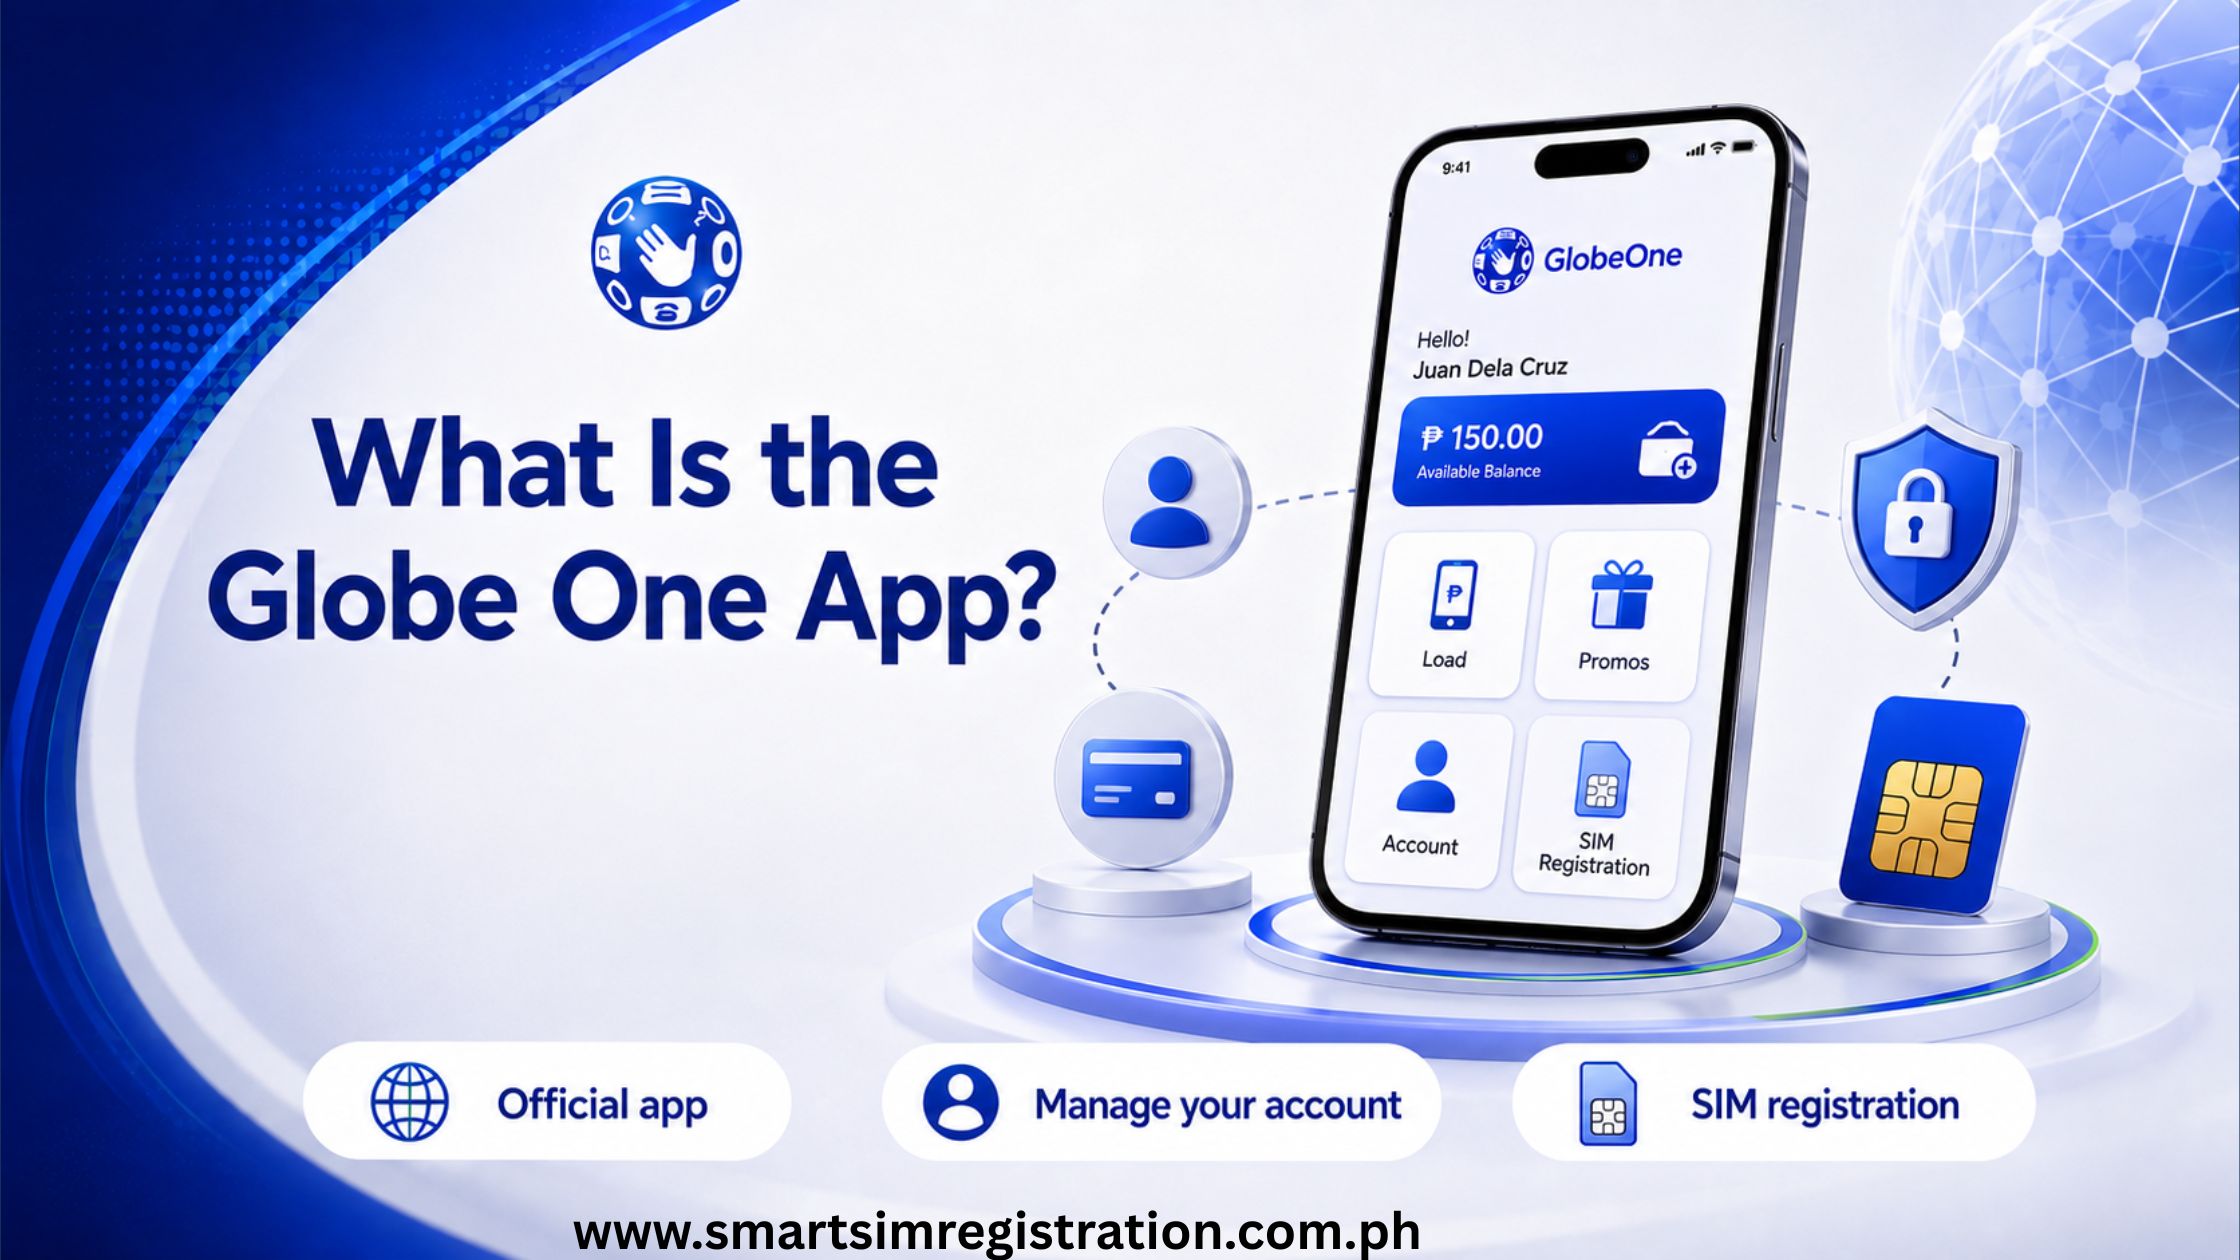
What Is the Globe One App SIM Registration?
Globe One is Globe’s official all-in-one mobile app, combining account management, SIM registration, load and data monitoring, and promo purchases into a single interface. It replaced several older separate Globe apps, so if you previously used something like the GlobeOne or My Globe app, this is its current, unified version.
For registration purposes specifically, it runs on the same backend system as the new.globe.com.ph/simreg web portal, so your submission is processed identically either way, just through a mobile-native interface instead of a browser.
The main advantage of registering through the app rather than the browser is that everything, from ID upload to selfie capture, uses your phone’s native camera directly, which tends to produce clearer photos than uploading an image taken separately and cropped manually on a mobile browser.
Is It Safe to Register Through the App?
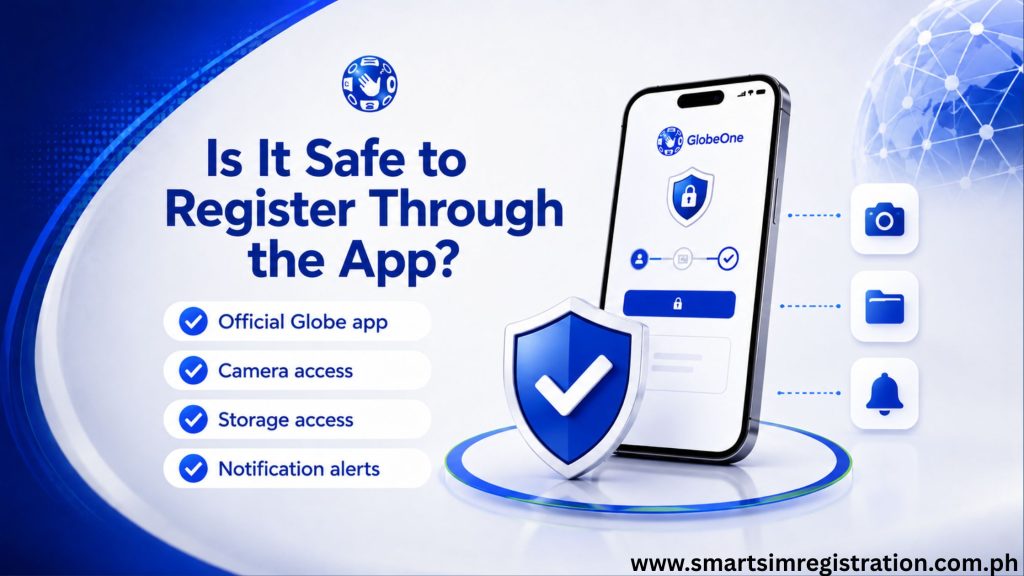
Yes, as long as you’ve downloaded the genuine Globe One app published by Globe Telecom, identifiable by the official developer name on the App Store or Google Play listing. The app will request a handful of permissions during setup, camera access for ID and selfie capture, storage access to save confirmation screenshots, and notification access to alert you about your registration status.
None of these are unusual for what the app does, but it’s worth reviewing the permission prompts rather than tapping through them without reading, especially if you’ve downloaded an app with a similar name from an unfamiliar source.
Downloading and Setting Up the App
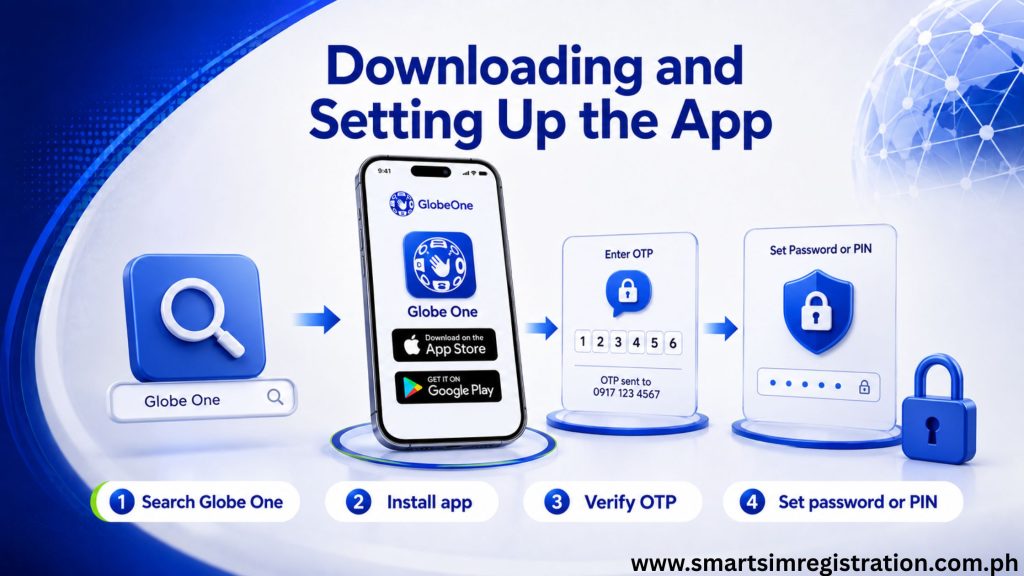
- Step 1: Search for “Globe One” on the App Store (iOS) or Google Play (Android) and install it, making sure it’s published by Globe Telecom to avoid unofficial clones.
- Step 2: Open the app and choose to log in or sign up using your Globe mobile number.
- Step 3: Verify your number with the OTP sent via SMS.
- Step 4: Set up a password or PIN for future logins, and enable biometric login if your device supports it for faster access later.
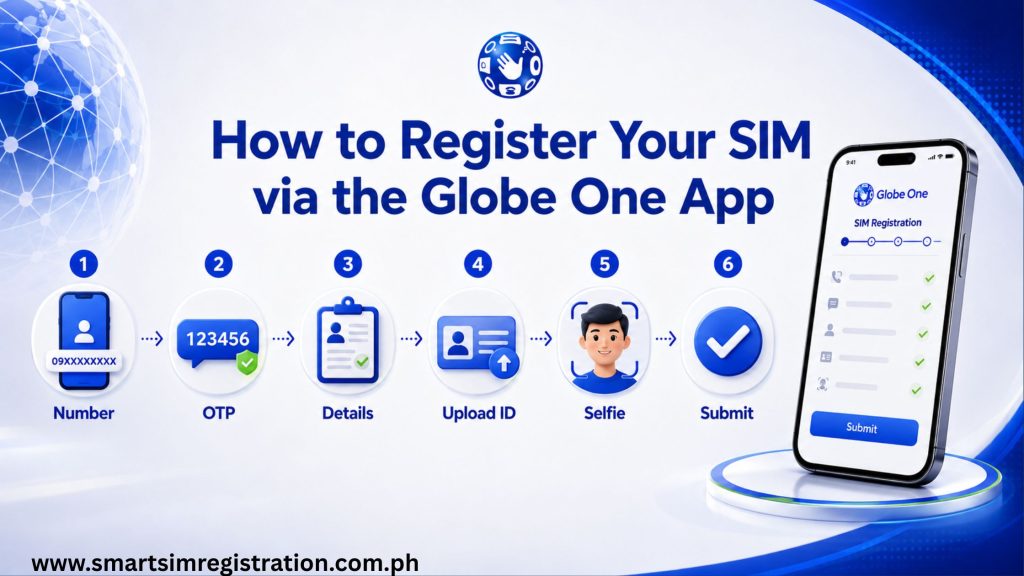
How to Register Your SIM via the Globe One App (Step-by-Step)
- Step 1: From the home screen, look for a SIM Registration banner, notification, or menu item, it’s usually prominently placed if your number hasn’t been registered yet.
- Step 2: Tap to begin, then confirm the mobile number you’re registering matches the one you’re logged in with.
- Step 3: Fill in your personal details, full name, birthdate, sex, and address, exactly as they appear on a valid government ID.
- Step 4: Use the in-app camera to photograph your ID, the app usually auto-detects the edges, but you can retake it if the preview looks unclear.
- Step 5: Complete the selfie verification step, following the on-screen prompts to blink or turn your head if liveness detection is required.
- Step 6: Review the summary screen carefully, then submit. You should see an on-screen confirmation and typically also receive an SMS.
- After submitting, the app usually shows your registration status directly on the dashboard, so you can check back later without digging through text messages.
Other Things You Can Do in the Globe One App
Since the app is built as an ongoing account tool rather than a one-time registration form, it’s worth knowing what else it covers once you’re set up, this is also why many people prefer registering here over the standalone web portal:
- Checking your load balance, data usage, and promo expiration dates in real time.
- Buying promos, data packages, or reloading prepaid credit directly without visiting a separate loading station.
- Managing multiple Globe numbers under one account if you have more than one line registered to you.
- Reaching customer support through in-app chat instead of waiting on a phone hotline.
- Viewing your billing history and past transactions if you’re on a postpaid plan.
This is one advantage of registering through the app rather than the standalone web portal, you end up with a dashboard you’ll likely keep using afterward instead of a one-off form you’ll never visit again.
Troubleshooting Common App Issues
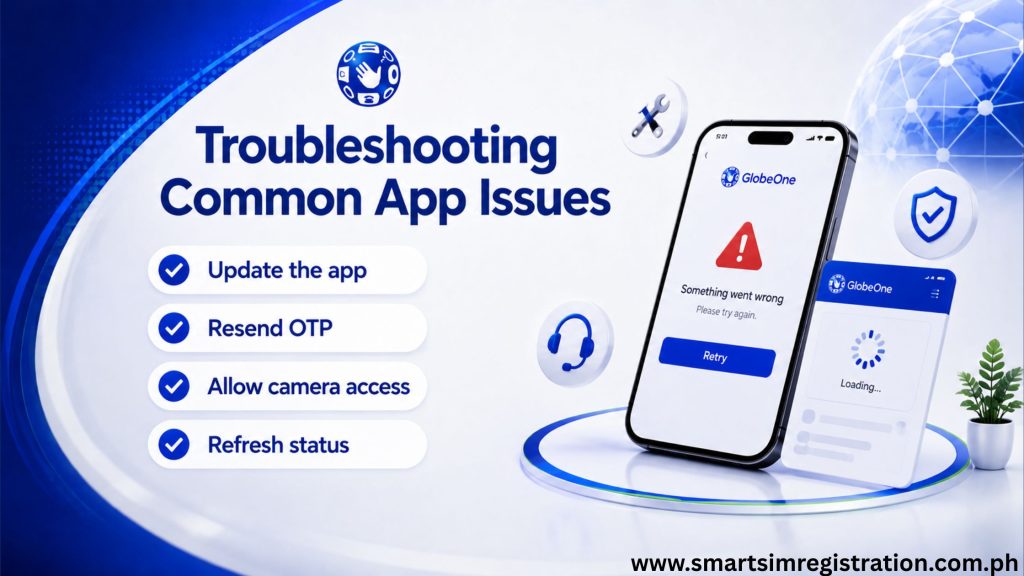
- App won’t open or crashes on launch: make sure you’re on the latest version from the App Store or Google Play, then restart your device if updating doesn’t help.
- OTP not arriving in the app: check your signal strength and confirm your SMS inbox isn’t full, then try resending after a short wait.
- Camera permission errors during ID upload: go to your phone’s settings, find the Globe One app, and manually enable camera access if it was previously denied.
- Registration banner not showing up: log out and back in, or check if your number was already registered previously through the web portal instead.
- Stuck on a loading screen after submitting: avoid closing the app immediately, wait a minute, then check your registration status separately if it seems frozen.
- App shows an outdated status after you’ve already been verified: pull down to refresh the dashboard, or log out and back in to force it to sync with the latest data.
- Selfie keeps getting rejected inside the app: remove glasses or hats if you’re wearing any, and make sure your face is well-lit and centered in the frame before capturing.